Access IoT SSH From Anywhere Free On Windows 10 Command Line – The Ultimate Guide
Hey there, tech-savvy friend! If you've been wondering how to connect to your IoT devices through SSH from anywhere using Windows 10's command line without spending a dime, you're in the right place. IoT SSH from anywhere free is totally doable, and we're gonna break it down step by step so even a newbie can get it done. So, grab your favorite drink and let's dive in!
Imagine this: you're chilling at a coffee shop, and suddenly you need to tweak something on your IoT setup back home. Panic sets in, right? Not anymore! With the right tools and a little know-how, you can SSH into your devices from anywhere on the planet—no expensive subscriptions required. Sounds cool, huh?
In this guide, we're gonna walk you through everything you need to know about setting up IoT SSH access from anywhere using Windows 10's command line. We'll cover the basics, the tools you need, potential pitfalls, and some pro tips to keep your connection secure. Ready? Let's go!
Table of Contents:
- Setting Up IoT SSH Access
- Essential Tools for IoT SSH
- Port Forwarding Made Easy
- Dynamic DNS Explained
- Using Windows 10 Command Line
- Security Best Practices
- Troubleshooting Common Issues
- Alternative Methods
- Free vs Paid Solutions
- Wrapping It Up
Setting Up IoT SSH Access
Alright, first things first. Before we jump into the nitty-gritty, let's talk about what SSH actually is and why it's such a game-changer for IoT enthusiasts. SSH stands for Secure Shell, and it's basically a protocol that lets you remotely control and manage devices over a network. For IoT devices, this means you can tweak settings, run scripts, or check logs without being physically present.
Why Use SSH for IoT?
Here's the deal: IoT devices are awesome, but they can be a pain to manage if you're not at home. SSH simplifies this process by giving you secure, remote access. Plus, it's free if you use the right tools and methods. Who doesn't love free stuff, right?
- Secure connection with encryption
- Easy to set up once you know the steps
- No need for expensive hardware or subscriptions
Essential Tools for IoT SSH
Now that we've got the basics covered, let's talk about the tools you'll need. Don't worry, most of these are free or already built into Windows 10. Here's what you'll need:
Must-Have Tools
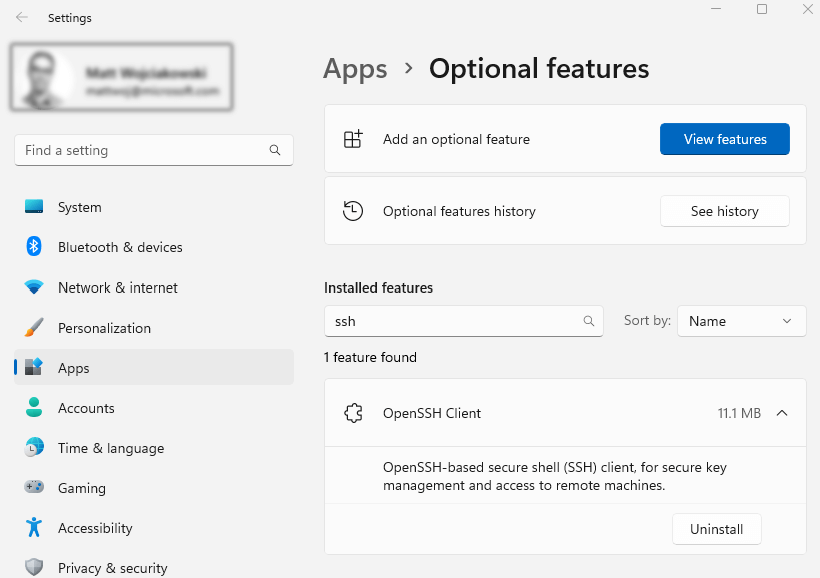
- Windows 10 with Command Prompt or PowerShell
- An IoT device with SSH enabled
- A router with port forwarding capabilities
- A dynamic DNS service (we'll explain this later)
Most modern IoT devices come with SSH pre-installed, so you're probably good to go on that front. Just double-check the device's documentation to be sure.
Port Forwarding Made Easy
Okay, here's where things get a little technical, but don't freak out—it's simpler than it sounds. Port forwarding is basically telling your router to direct incoming traffic to a specific device on your network. This is crucial for SSH because it allows you to connect to your IoT device from anywhere.
How to Set Up Port Forwarding
Every router is a bit different, but the process is generally the same:
- Log into your router's admin panel (usually via a web browser)
- Find the "Port Forwarding" or "Virtual Server" section
- Add a new rule for port 22 (the default SSH port) and point it to your IoT device's IP address
- Save the changes and test the connection
Pro tip: If you're not sure how to log into your router, check the manual or Google your router's model number. Trust me, it'll save you a headache.
Dynamic DNS Explained
So, you've got port forwarding set up, but there's one more piece to the puzzle: dynamic DNS. Your home IP address can change from time to time, which would mess up your SSH connection. Dynamic DNS services automatically update your domain name to point to your current IP address, keeping everything running smoothly.
Popular Dynamic DNS Services
- No-IP
- Dynu
- FreeDNS
Most of these services offer a free tier that's perfect for personal use. Just sign up, create a domain name, and configure your router or IoT device to update the DNS record whenever your IP changes.
Using Windows 10 Command Line
Alright, let's get to the fun part: actually connecting to your IoT device using Windows 10's command line. You can use either Command Prompt or PowerShell—both work great. Here's how:
Step-by-Step Guide
- Open Command Prompt or PowerShell
- Type the following command:
ssh username@yourdomain.com - Enter your password when prompted
- Boom! You're connected
Replace "username" with your IoT device's login and "yourdomain.com" with the domain name you set up with your dynamic DNS service. Easy peasy, right?
Security Best Practices
Now, here's the thing: SSH is secure, but only if you follow some basic security practices. You don't want some random hacker gaining access to your IoT setup, do you? Here are a few tips to keep your connection safe:
- Use strong, unique passwords
- Enable two-factor authentication if possible
- Change the default SSH port (just in case)
- Regularly update your IoT devices and router firmware
Remember, security is all about layers. The more precautions you take, the safer your setup will be.
Troubleshooting Common Issues
Even with the best-laid plans, things can go wrong sometimes. Here are a few common issues you might encounter and how to fix them:
Connection Refused
If you get a "connection refused" error, double-check your port forwarding settings and make sure your IoT device is online. Also, verify that SSH is enabled on the device.
Timeout Errors
Timeout errors usually mean there's a network issue. Check your internet connection, router settings, and dynamic DNS configuration. If all else fails, restart your router and try again.
Alternative Methods
While SSH is awesome, it's not the only way to remotely access your IoT devices. Here are a couple of alternatives you might want to explore:
TeamViewer
TeamViewer is a popular remote access tool that works on pretty much any device. It's free for personal use and doesn't require any complex setup. Just install the app on your IoT device and you're good to go.
Cloud-Based Solutions
Some IoT devices offer built-in cloud services that let you access them remotely via a web interface. These are usually pretty secure and easy to use, but they might come with a monthly fee.
Free vs Paid Solutions
Let's talk money for a sec. While there are plenty of free options for IoT SSH access, paid solutions can offer additional features and support. Here's a quick breakdown:
Free Options
- SSH with dynamic DNS
- TeamViewer
- Open-source tools like PuTTY
Paid Options
- Cloud-based IoT platforms
- Pro versions of dynamic DNS services
- Managed SSH services
Ultimately, the choice depends on your needs and budget. If you're just tinkering around, the free options are probably all you need. But if you're running a business or managing multiple devices, a paid solution might be worth the investment.
Wrapping It Up
And there you have it, folks! With a little effort and the right tools, you can set up IoT SSH access from anywhere using Windows 10's command line for free. It might seem overwhelming at first, but once you get the hang of it, it's a breeze.
Here's a quick recap of the key points:
- SSH is a secure way to remotely access your IoT devices
- Port forwarding and dynamic DNS are essential for remote access
- Windows 10's command line makes SSH connections super easy
- Security is crucial—don't neglect it!
So, what are you waiting for? Go ahead and set up your IoT SSH access today. And don't forget to share this guide with your tech-savvy friends. Together, we can make the world a more connected place—one IoT device at a time!
Got any questions or tips of your own? Drop a comment below and let's chat. Happy hacking!
Windows ssh password in command line

How to Remote Access SSH From Anywhere
:max_bytes(150000):strip_icc()/command-prompt-windows-5820c6f73df78cc2e8961d0f.png)
Windows command line mommyaca
